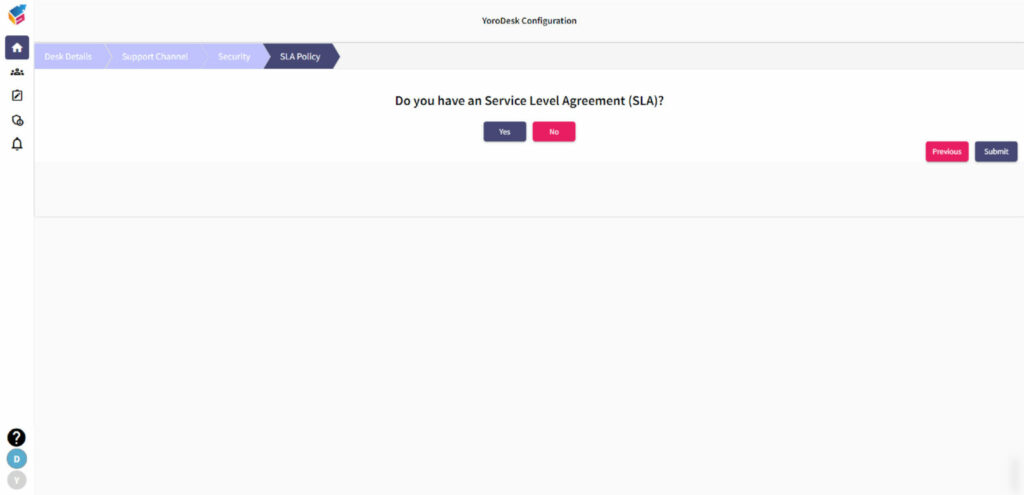
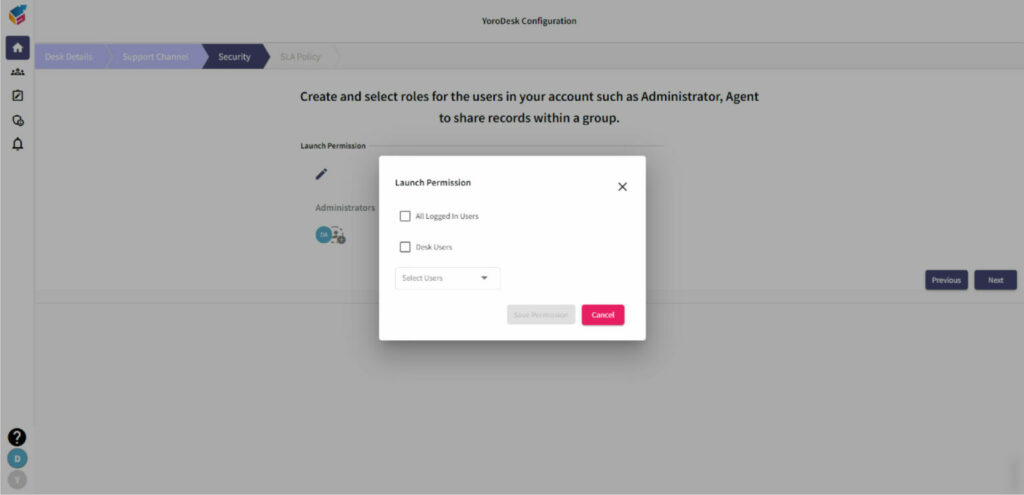
- Once launch permission is assigned successfully, you can continue with the SLA configuration.
- You can create New SLA or proceed with the existing or saved SLA policy.

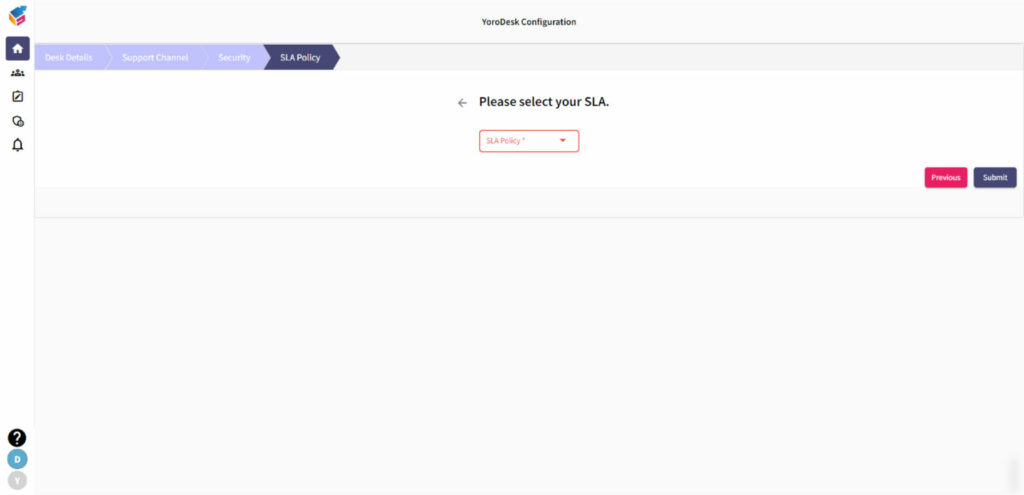
- If you have SLA policy already, you have to select your SLA as shown in the screen.

- After selecting your SLA policy, click Save button.
- Now, your SLA policies are added and then click Submit button.

- Finally, your desk has been created successfully.


