Web Service Task

Start Task #

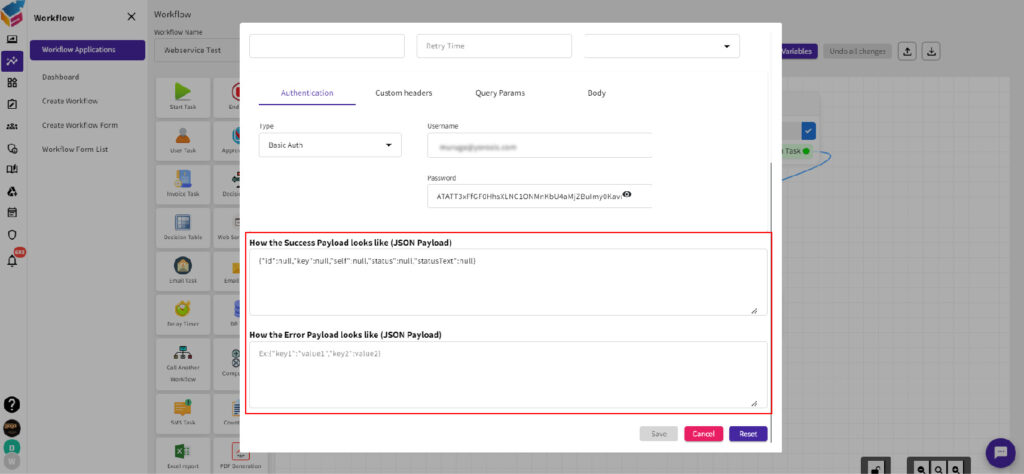
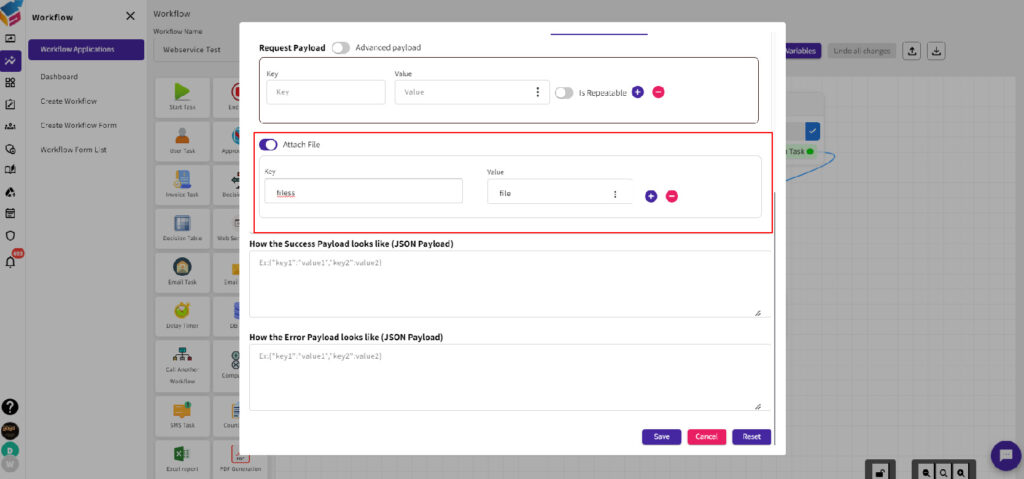
  • To start a Web Service Task, you have to select the Web Service Task node through the drag and drop feature.
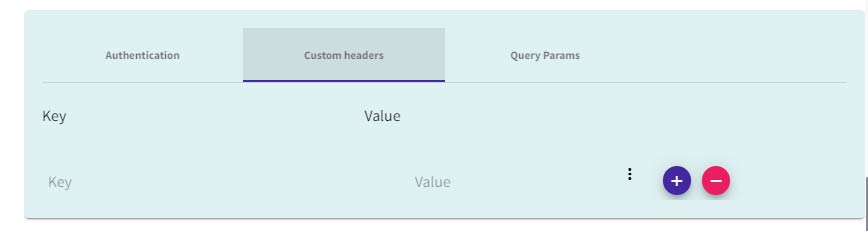
  • In webservice task, by introducing the ability to include “Other” status codes like 2xx, 4xx, or 5xx, users gain the power to forge connections with a broader spectrum of systems and services.  
  • This mandate for comprehensive compatibility means that Yoroflow remains at the forefront of ensuring smooth and efficient connection across diverse platforms, making it an asset for businesses seeking seamless connectivity solutions. 

Go To Properties #

  • Right click the Web Service Task node and you can see three options like Properties, Delete, and Duplicate.
  • Select Properties of the Web Service Task that will show the Web Service properties like this.

Call Web Service #

  • Enter the Name and specify the HTTP Method like GET, POST, PUT, PATCH and OPTIONS that are required to call a specific web service.

Set Parameters #

  • And also, you can set the Connection Timeout, Read Timeout, Max Retry Count, Retry Time, and Units (Minutes, Hours).
  • For Authentication, you have to add the Type to be called.
  • For Custom Headers and Query Params, you have to add the Key and Value separately as shown in the screen.

Payload Response #

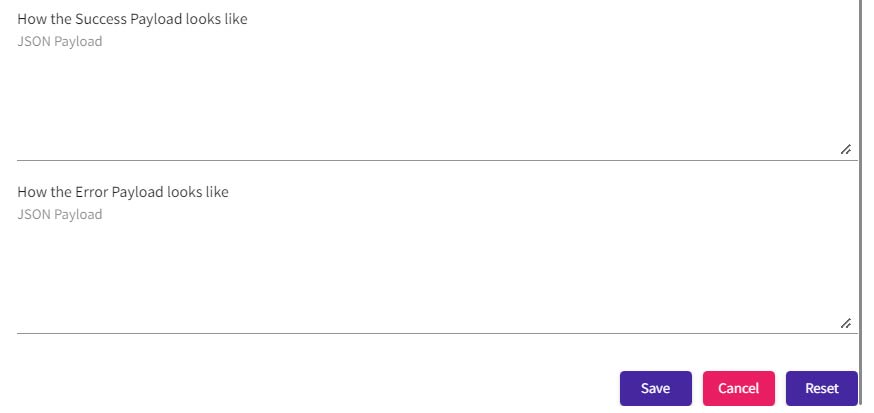
  • JSON is a web service resource method which has the ability to produce a media type.
  • It helps to show the Response Output Parameter, which is a new field that permits you to indicate whether a response payload is to be a Success or Error.

Body and Attachment Options #

  • To include data using the body option, users need to specify the necessary information within the request body. 
  • Find the attachment option settings within the web service task configuration.  
  • This option allows users to include file attachments with their requests or handle attachments in responses. 

Save Task #

  • At last, you can either Save, Cancel, or Reset the task which you have created.